SiRad Easy 60 GHz Front End Board
1 Power Connection
1.1 Method 1
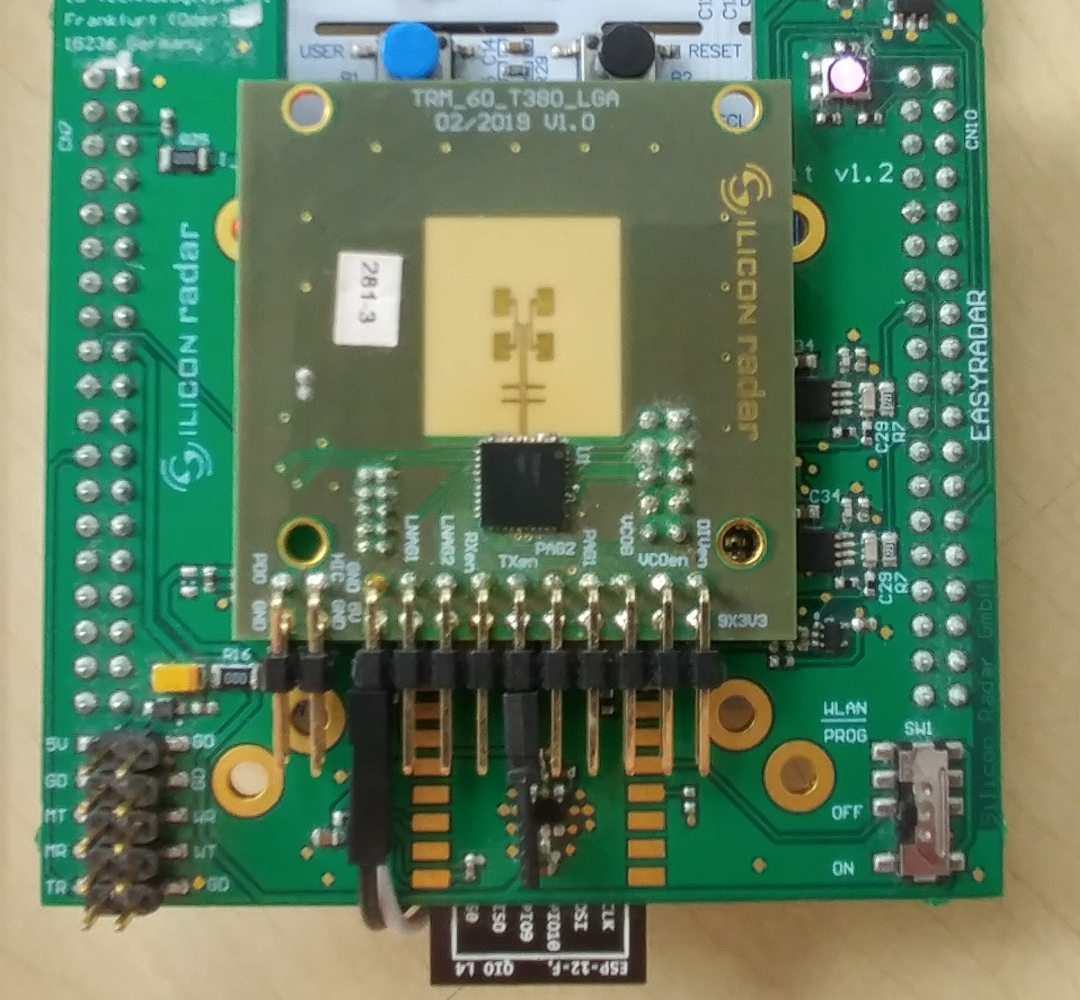
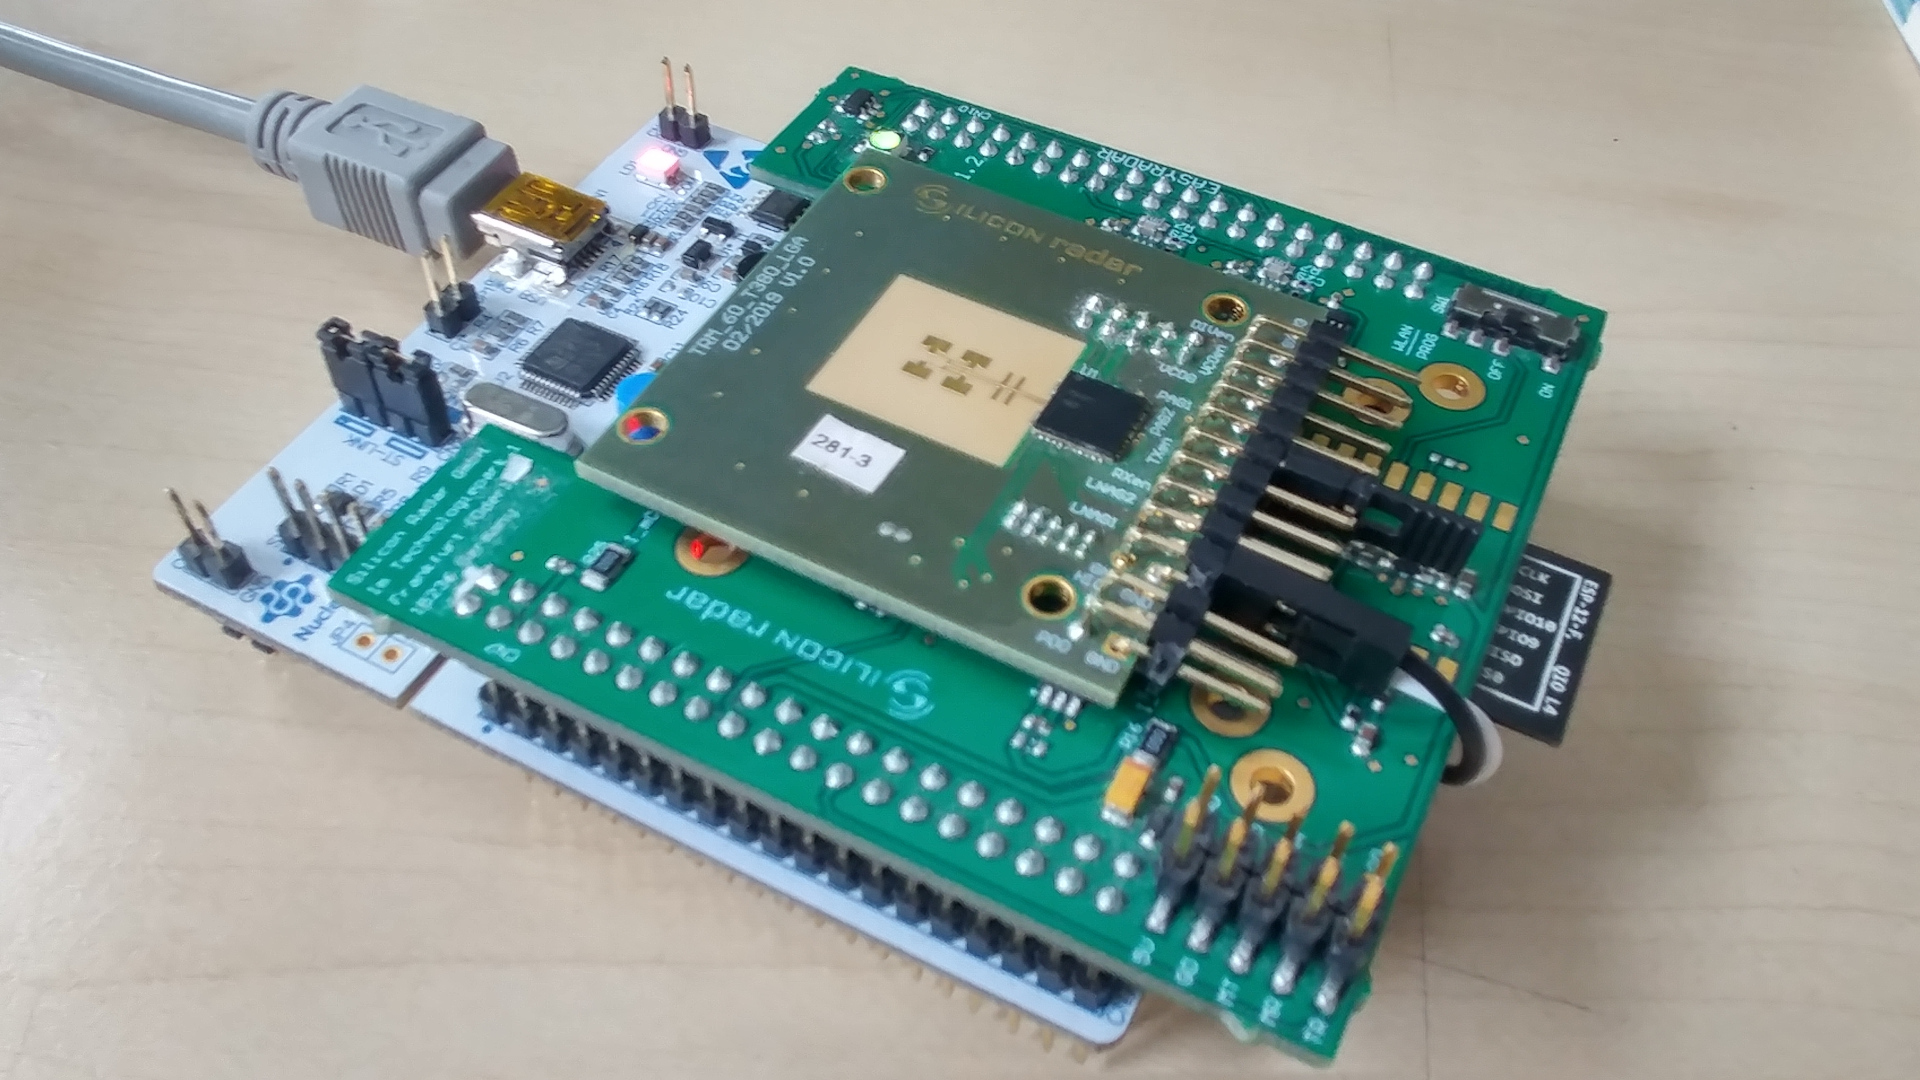
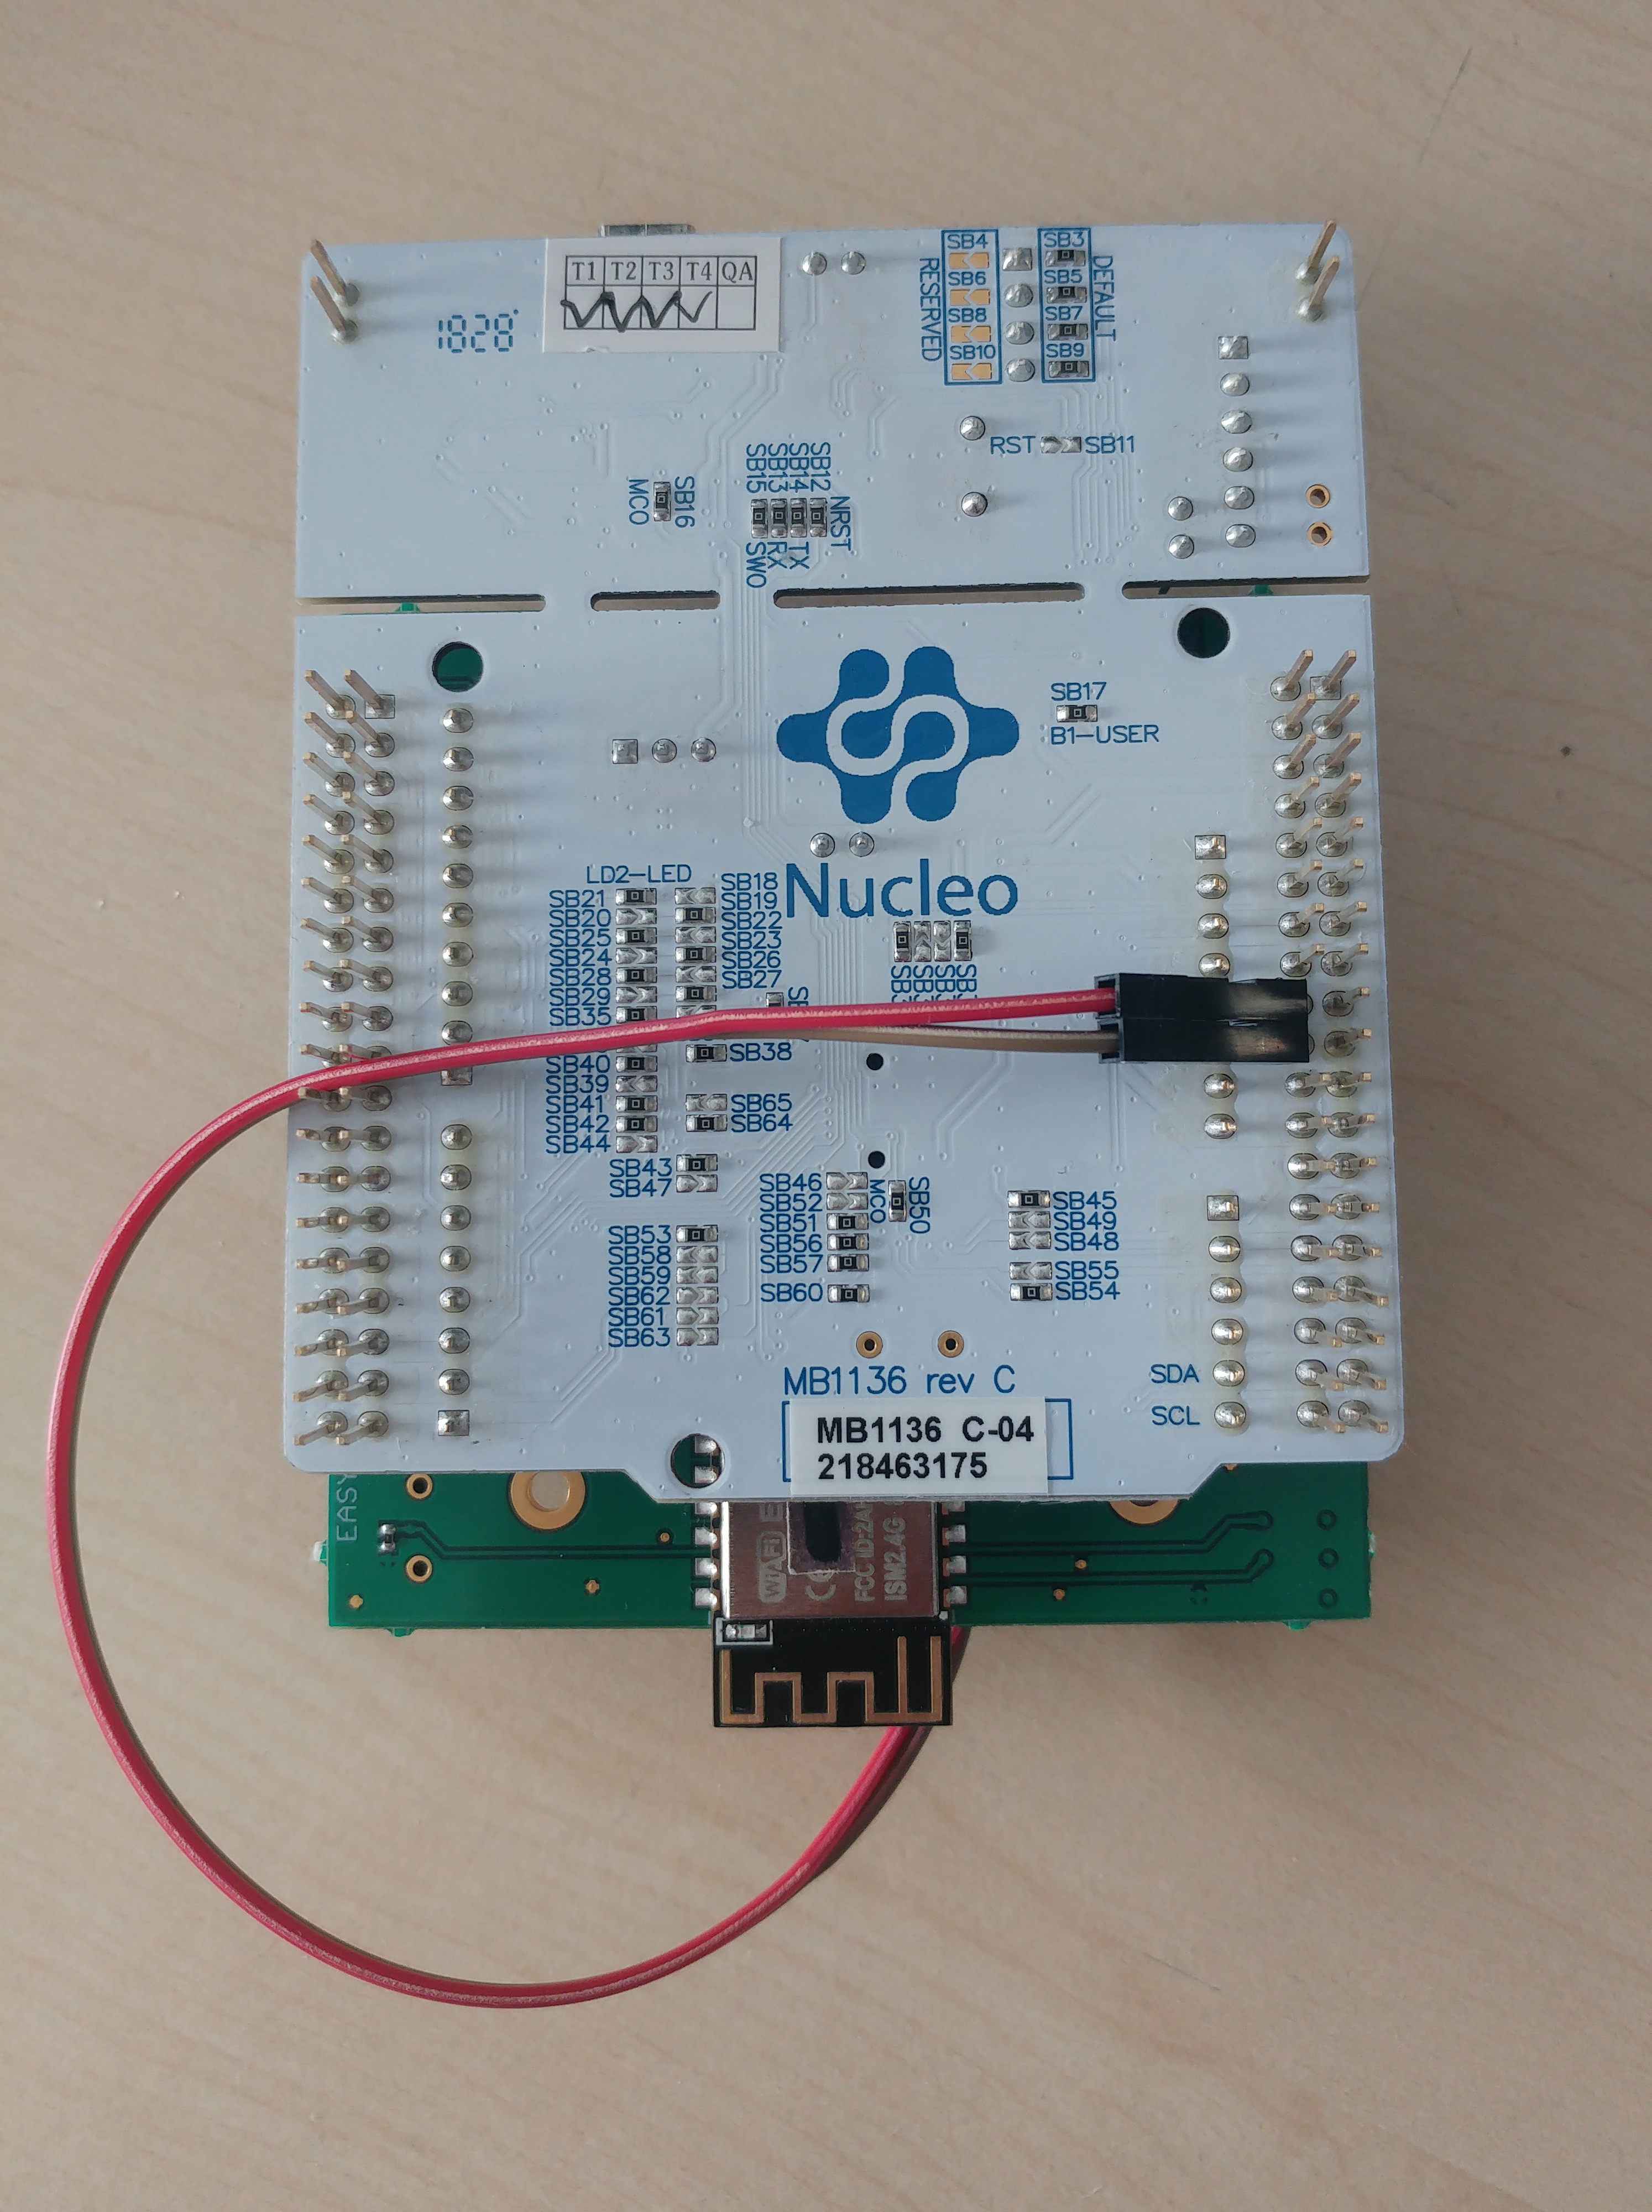
For the power supply to the front end, a separate connection is required. Figure 1 shows where to connect the power on the front end (marked in black: +5V and GND). Figure 2, shows the Easy kit with the front end mounted and connected. Figure 3 shows where to connect the power to the bottom side of the Easy: pin 18 (5V) and pin 20 (GND) of the CN7 connector on the Nucleo board. Please be aware that the 5V pin of the header bar on the Easy cannot be used to power the front end! Alternatively an external power source can be used.
1.2 Method 2
The front end can be also powered by an external +5V power source. For that, disconnect the Easy from the USB. Connect 5V and GND of the front end to +5V and GND of your power source, but do not power it on yet. Connect the USB again to the Easy kit. Now switch on the power of the external power source.
1.3 Method 3
Alternatively, the GND of the front end can be connected to one of the corner connectors (CN11 or CN12) of the Nucleo and the 5V of the front end can be connected to the U5V connector of the Nucleo.
2 Parameter Setting
- RF Parameters tab
 o	Insert a Bandwidth (MHz) of 6'000 MHz
 o	Set the Base frequency (MHz) to 58'000 MHz